

GET statuses/retweets/:id
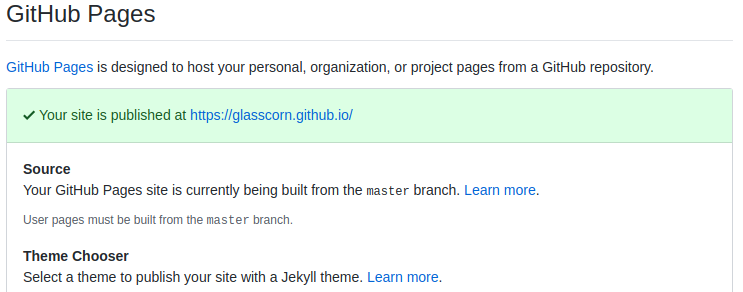
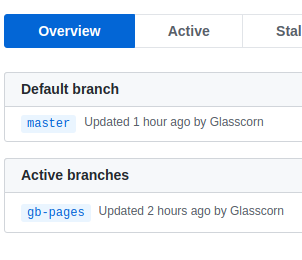
https://github.com/Glasscorn/glasscorn.github.io




pid        logs/nginx_upload.pid;
events {
    worker_connections  1024;
}

http {
    lua_package_path '/usr/local/lib/lua/5.1/?.lua;;';

    server {
        listen       8001;

        # download
        autoindex on;
        autoindex_exact_size off;
        autoindex_localtime on;

        # auth
        auth_basic "Restricted site";
        auth_basic_user_file /opt/nginx/.htpasswd;

        location /download {
            alias upload;
        }


        location ~ ^/upload_lua(/.*)?$ {
            set $store_path upload$1/;
            content_by_lua_file conf/lua/my_upload.lua;
        }

        location ~ ^/delete/(.*)$ {
            set $file_path upload/$1;
            content_by_lua_file conf/lua/my_delete.lua;
        }
    }
}local upload = require "resty.upload"
local function my_get_file_name(header)
local file_name
for i, ele in ipairs(header) do
file_name = string.match(ele, 'filename="(.*)"')
if file_name and file_name ~= '' then
return file_name
end
end
return nil
end
local chunk_size = 4096
local form = upload:new(chunk_size)
local file
local file_path
while true do
local typ, res, err = form:read()
if not typ then
ngx.say("failed to read: ", err)
return
end
if typ == "header" then
local file_name = my_get_file_name(res)
if file_name then
file_path = ngx.var.store_path..file_name
file = io.open(file_path, "w+")
if not file then
ngx.say("failed to open file ", file_path)
return
end
end
elseif typ == "body" then
if file then
file:write(res)
end
elseif typ == "part_end" then
if file then
file:close()
file = nil
ngx.say("upload to "..file_path.." successfully!")
end
elseif typ == "eof" then
break
else
-- do nothing
end
end<!DOCTYPE html>
<html>
<head>
<title>Upload your files</title>
</head>
<body>
<form enctype="multipart/form-data" action="upload.php" method="POST">
<p>Upload your file</p>
<input type="file" name="uploaded_file"></input><br />
<input type="submit" value="Upload"></input>
</form>
</body>
</html>
<?PHP
if(!empty($_FILES['uploaded_file']))
{
$path = "uploads/";
$path = $path . basename( $_FILES['uploaded_file']['name']);
if(move_uploaded_file($_FILES['uploaded_file']['tmp_name'], $path)) {
echo "The file ". basename( $_FILES['uploaded_file']['name']).
" has been uploaded";
} else{
echo "There was an error uploading the file, please try again!";
}
}
?>
import os
import mimetypes
from django.http import StreamingHttpResponse
from django.core.servers.basehttp import FileWrapper


def download_file(request):
   the_file = '/some/file/name.png'
   filename = os.path.basename(the_file)
   chunk_size = 8192
   response = StreamingHttpResponse(FileWrapper(open(the_file, 'rb'), chunk_size),
                           content_type=mimetypes.guess_type(the_file)[0])
   response['Content-Length'] = os.path.getsize(the_file)
   response['Content-Disposition'] = "attachment; filename=%s" % filename
return responsefrom django.core.servers.basehttp import FileWrapperfrom wsgiref.util import FileWrapper
>>> import geoip2.database
>>>
>>> # This creates a Reader object. You should use the same object
>>> # across multiple requests as creation of it is expensive.
>>> reader = geoip2.database.Reader('/path/to/GeoLite2-City.mmdb')
>>>
>>> # Replace "city" with the method corresponding to the database
>>> # that you are using, e.g., "country".
>>> response = reader.city('128.101.101.101')
>>>
>>> response.country.iso_code
'US'
>>> response.country.name
'United States'
>>> response.country.names['zh-CN']
u'美国'
>>>
>>> response.subdivisions.most_specific.name
'Minnesota'
>>> response.subdivisions.most_specific.iso_code
'MN'
>>>
>>> response.city.name
'Minneapolis'
>>>
>>> response.postal.code
'55455'
>>>
>>> response.location.latitude
44.9733
>>> response.location.longitude
-93.2323
>>> reader.close()>>> from django.contrib.gis.geoip2 import GeoIP2
>>> g = GeoIP2()
>>> g.country('google.com')
{'country_code': 'US', 'country_name': 'United States'}
>>> g.city('72.14.207.99')
{'city': 'Mountain View',
'country_code': 'US',
'country_name': 'United States',
'dma_code': 807,
'latitude': 37.419200897216797,
'longitude': -122.05740356445312,
'postal_code': '94043',
'region': 'CA'}
>>> g.lat_lon('salon.com')
(39.0437, -77.4875)
>>> g.lon_lat('uh.edu')
(-95.4342, 29.834)
>>> g.geos('24.124.1.80').wkt
'POINT (-97 38)'
Есть ли готовый шаблон bootstrap 4 во всеми элементами на странице?

где можно установить метки, а потом в интерфейсе строить между ними автомобильные маршруты в произвольном порядке (менять начальную и конечную точки из набора меток)?
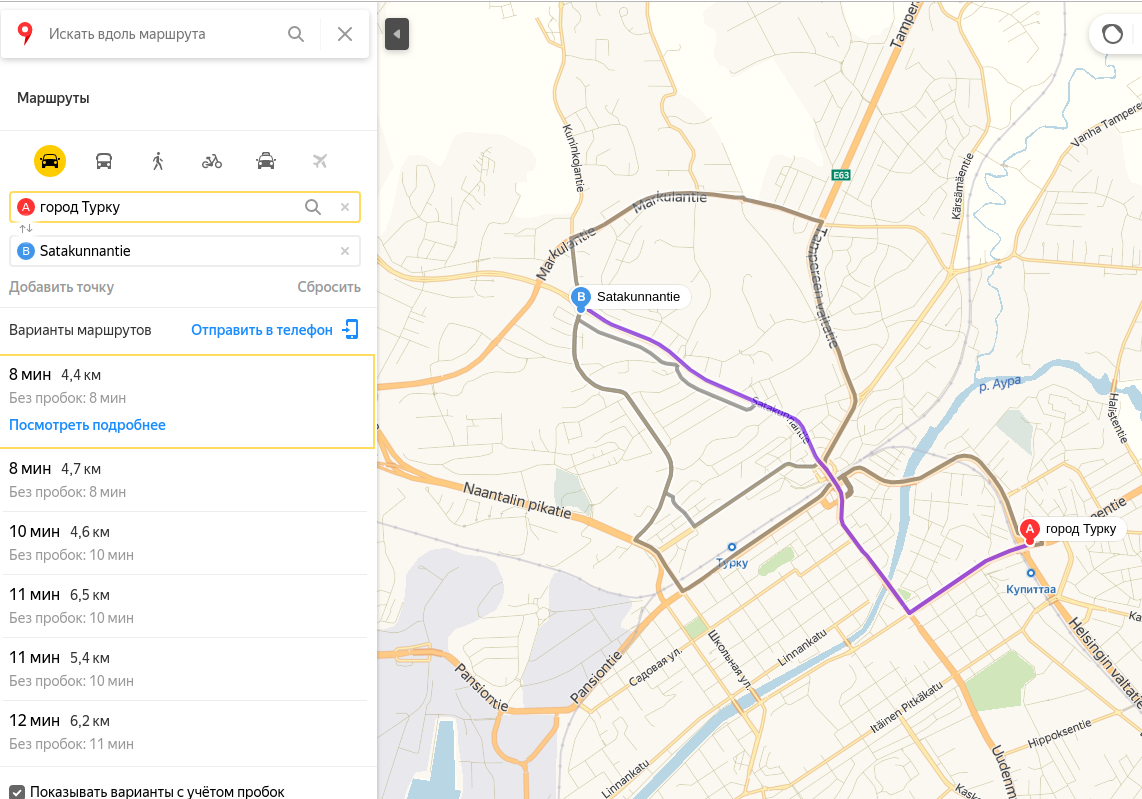
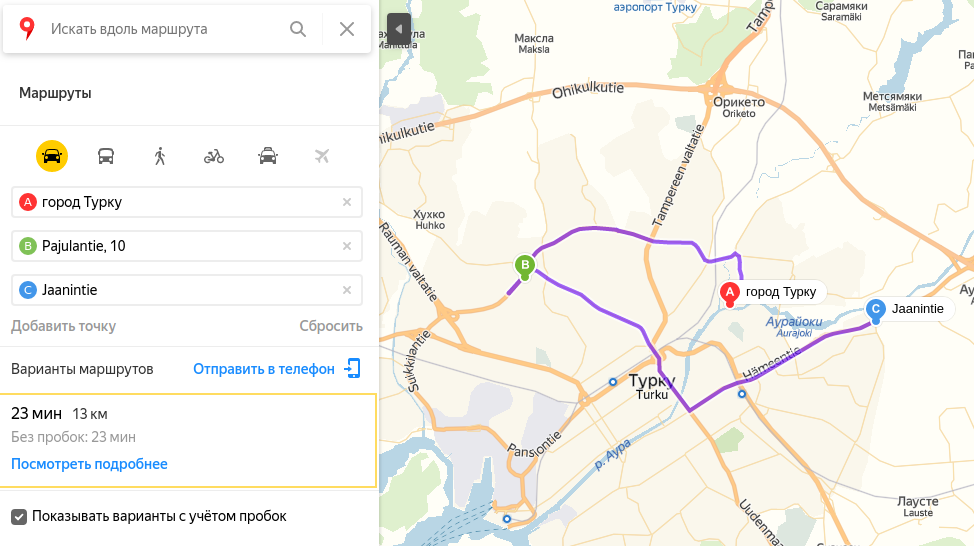
мне же нужно, чтобы можно было интерактивно менять точку выезда и точку прибытия из заданного набора
из заданного набора
// Строим маршрут из Королева в Красногорск через Химки и Мытищи, где Мытищи - транзитная точка.
// Красногорск зададим координатами.
ymaps.route([
     'Королев',
     { type: 'viaPoint', point: 'Мытищи' },
     'Химки',
     { type: 'wayPoint', point: [55.811511, 37.312518] }
 ], {
     mapStateAutoApply: true
 }).then(function (route) {
     route.getPaths().options.set({
         // в балуне выводим только информацию о времени движения с учетом пробок
         balloonContentBodyLayout: ymaps.templateLayoutFactory.createClass('$[properties.humanJamsTime]'),
         // можно выставить настройки графики маршруту
         strokeColor: '0000ffff',
         opacity: 0.9
     });
     // добавляем маршрут на карту
     map.geoObjects.add(route);
 });


читал о vpn и proxy но ничего не понял, нужно указывать порт, логин и т.п.
docker run \
    --name ipsec-vpn-server \
    --env-file ./vpn.env \
    --restart=always \
    -p 500:500/udp \
    -p 4500:4500/udp \
    -d --privileged \
hwdsl2/ipsec-vpn-server./vpn.env указываете свой путь.VPN_IPSEC_PSK=your_ipsec_pre_shared_key
VPN_USER=your_vpn_username
VPN_PASSWORD=your_vpn_passworddocker logs ipsec-vpn-serverConnect to your new VPN with these details:
Server IP: your_vpn_server_ip
IPsec PSK: your_ipsec_pre_shared_key
Username: your_vpn_username
Password: your_vpn_passworМне же нужно иметь доступ к api.telegram.org просто заменив его на свой ip адрес на digitalocean.
Прочитал здесь комментарий в вопросе
но не понял как это реализовать, указанные команды у меня не сработали :(


не совсем понимаю принцип работы, назначение некоторых пинов



fitToViewport()
Starting with 8.0 (API level 26), notification badges (also known as notification dots) appear on a launcher icon when the associated app has an active notification. Users can long-press on the app icon to reveal the notifications (alongside any app shortcuts), as shown in figure 1.
